Create a new Auto Notice (CSV Integration)
Before you start...
Prepare a sample copy of the CSV file that you will use to regularly send this Auto Notice. The sample file will be needed to configure how to read the CSV file that will be used to send each Auto Notice.
You will typically setup your Student Information System to generate this CSV file and automatically upload to our file server on a regular basis. Learn more about what needs to be in this CSV file and how you can automate the file upload here.
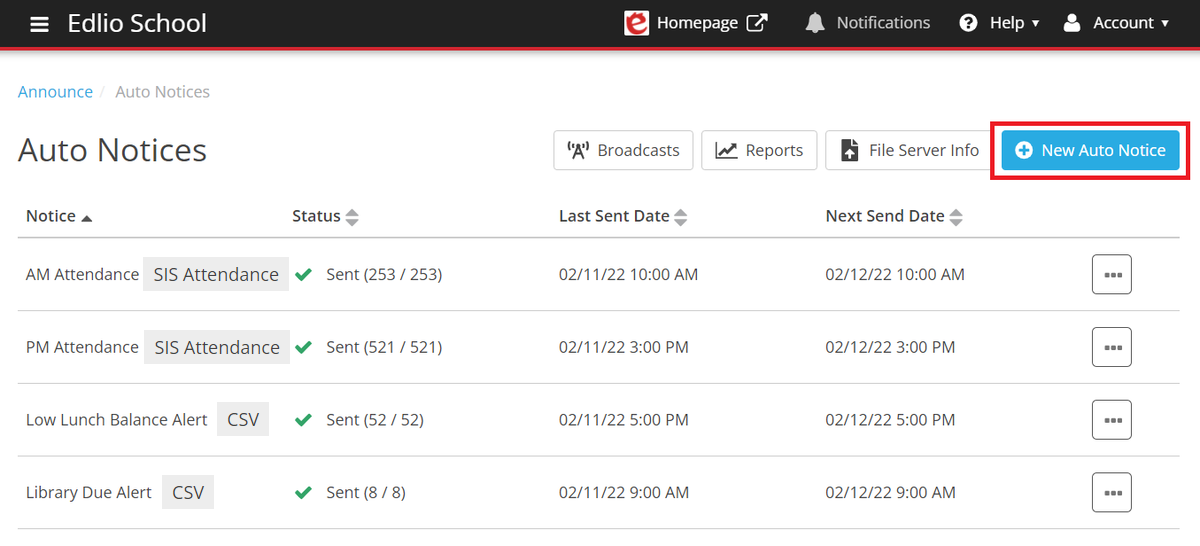
1. Click New Auto Notice
2. Enter an Auto Notice name and select the channels that will be used for this Auto Notice
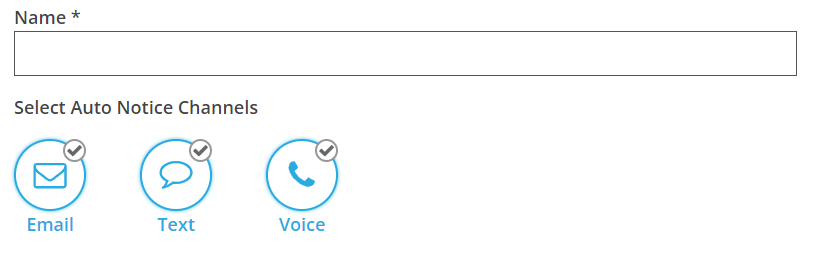
The Auto Notice Name is for your reference only and will not be used in the Auto Notice itself.
3. Select CSV as the data source type

4. Upload a sample CSV file and map the data columns
Click Upload Sample CSV and upload a sample of the CSV file that will be used to send this Auto Notice.

Once the file has been uploaded, select the column type that corresponds to each column. Make sure that the file name matches the name of the file that will be uploaded to the file server. If the first row of your file is not a header row with column names and instead contains data, then uncheck the First row is the header checkbox.

If you encounter any issues with the sample file, such as invalid column names or unescaped delimiters, make the appropriate corrections in your sample file and click Upload Different Sample CSV to upload your corrected file.
Once you have completed the data file mapping, click Continue to move to the next step.
5. Write your Auto Notice message template for each channel
For all channels, you can use Insert merge field to insert the merge field tokens that reference the columns from your sample CSV file. Auto Notices will replace these merge field tokens with the data from the uploaded CSV file when sending messages.
You can also manually enter these merge field tokens. They are in the format {{Name_of_Token}}.
Email Message
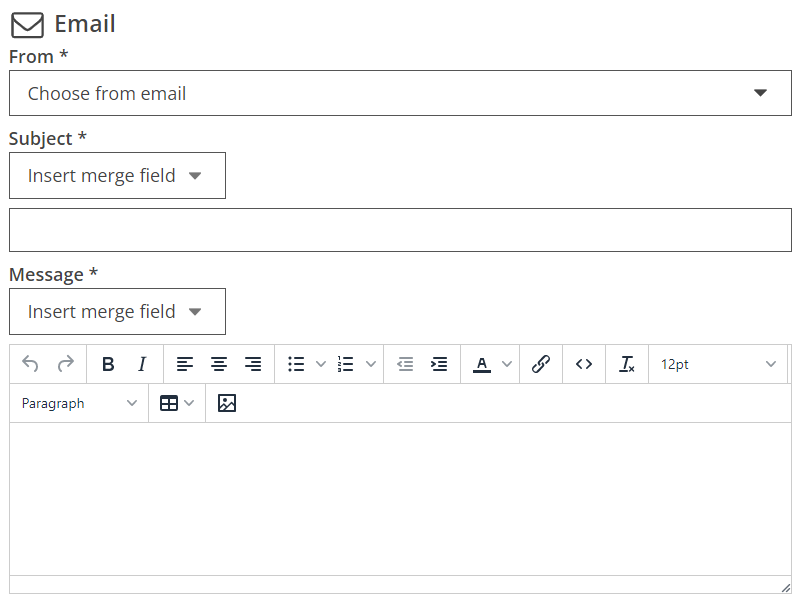
Select the From address this Auto Notice will be sent from. These email addresses should have been added when you were setting up Broadcasts.
Enter an email Subject line and write your Message body.
Text Message
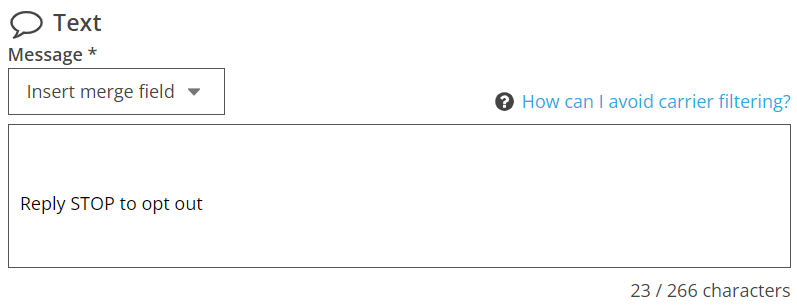
Text Messages are limited to 266 characters. The limit applies to the message template.
The final composed message may exceed this limit as the text inserted from the CSV data file may be of arbitrary length. Longer text messages that result from large text in the CSV data file may consume more text message units. Messages that exceed the maximum possible text message length imposed by various cell phone carriers may not be delivered.
Voice Message
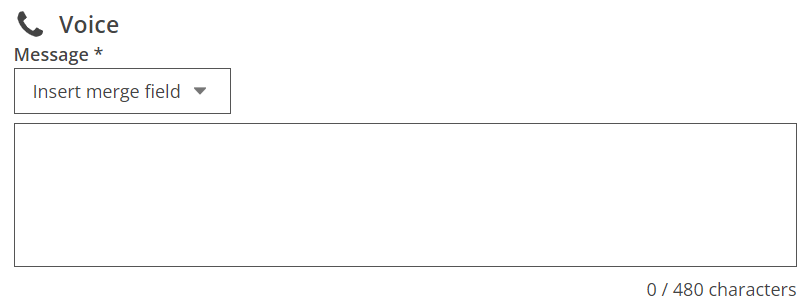
Enter the message you would like and the text-to-speech service will speak your message in the voice call.
Once you have entered messages for all channels, click Continue to move to the final step.
6. Schedule Auto Notice
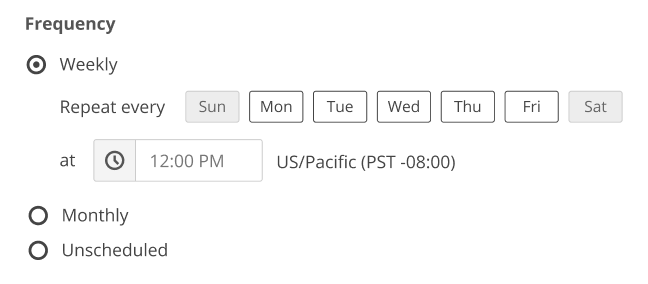
Schedule this Auto Notice to be sent Weekly or Monthly. You can also leave the Auto Notice unscheduled and send it manually instead.
Auto Notices can be scheduled at most once per day. If you need to send the same Auto Notice more than once per day, you can copy the Auto Notice and schedule the copy at a different time of day.