Create Azure AD Application
Microsoft updates their interfaces occasionally and we do our best to keep the screenshots here up-to-date. Microsoft also personalizes your experience based on your account access and settings. Please understand that the screens here may not perfectly match what you see in Microsoft. You may find that these instructions more closely match your experience if you are using a legacy version of Azure.
Before you begin
- Your organization must have Azure Active Directory (Azure AD). If your organization does not already have Azure AD then Create an Active Directory on Windows Azure.
- Contact Edlio Support to request the "Reply URL" needed for step 14.
To create an Application on Microsoft Azure AD
Microsoft Office 365 uses Azure AD for it's SSO for organizations, and uses Windows Live for the SSO for individuals. These instructions are for Azure AD as that's what your organization will need to use.

Not what Azure looks like for you? Try these instructions instead.
2. Go into the Active Directory section
In the row of Azure services, click on "Azure Active Directory"
3. In the “Manage” menu, click “App Registration”
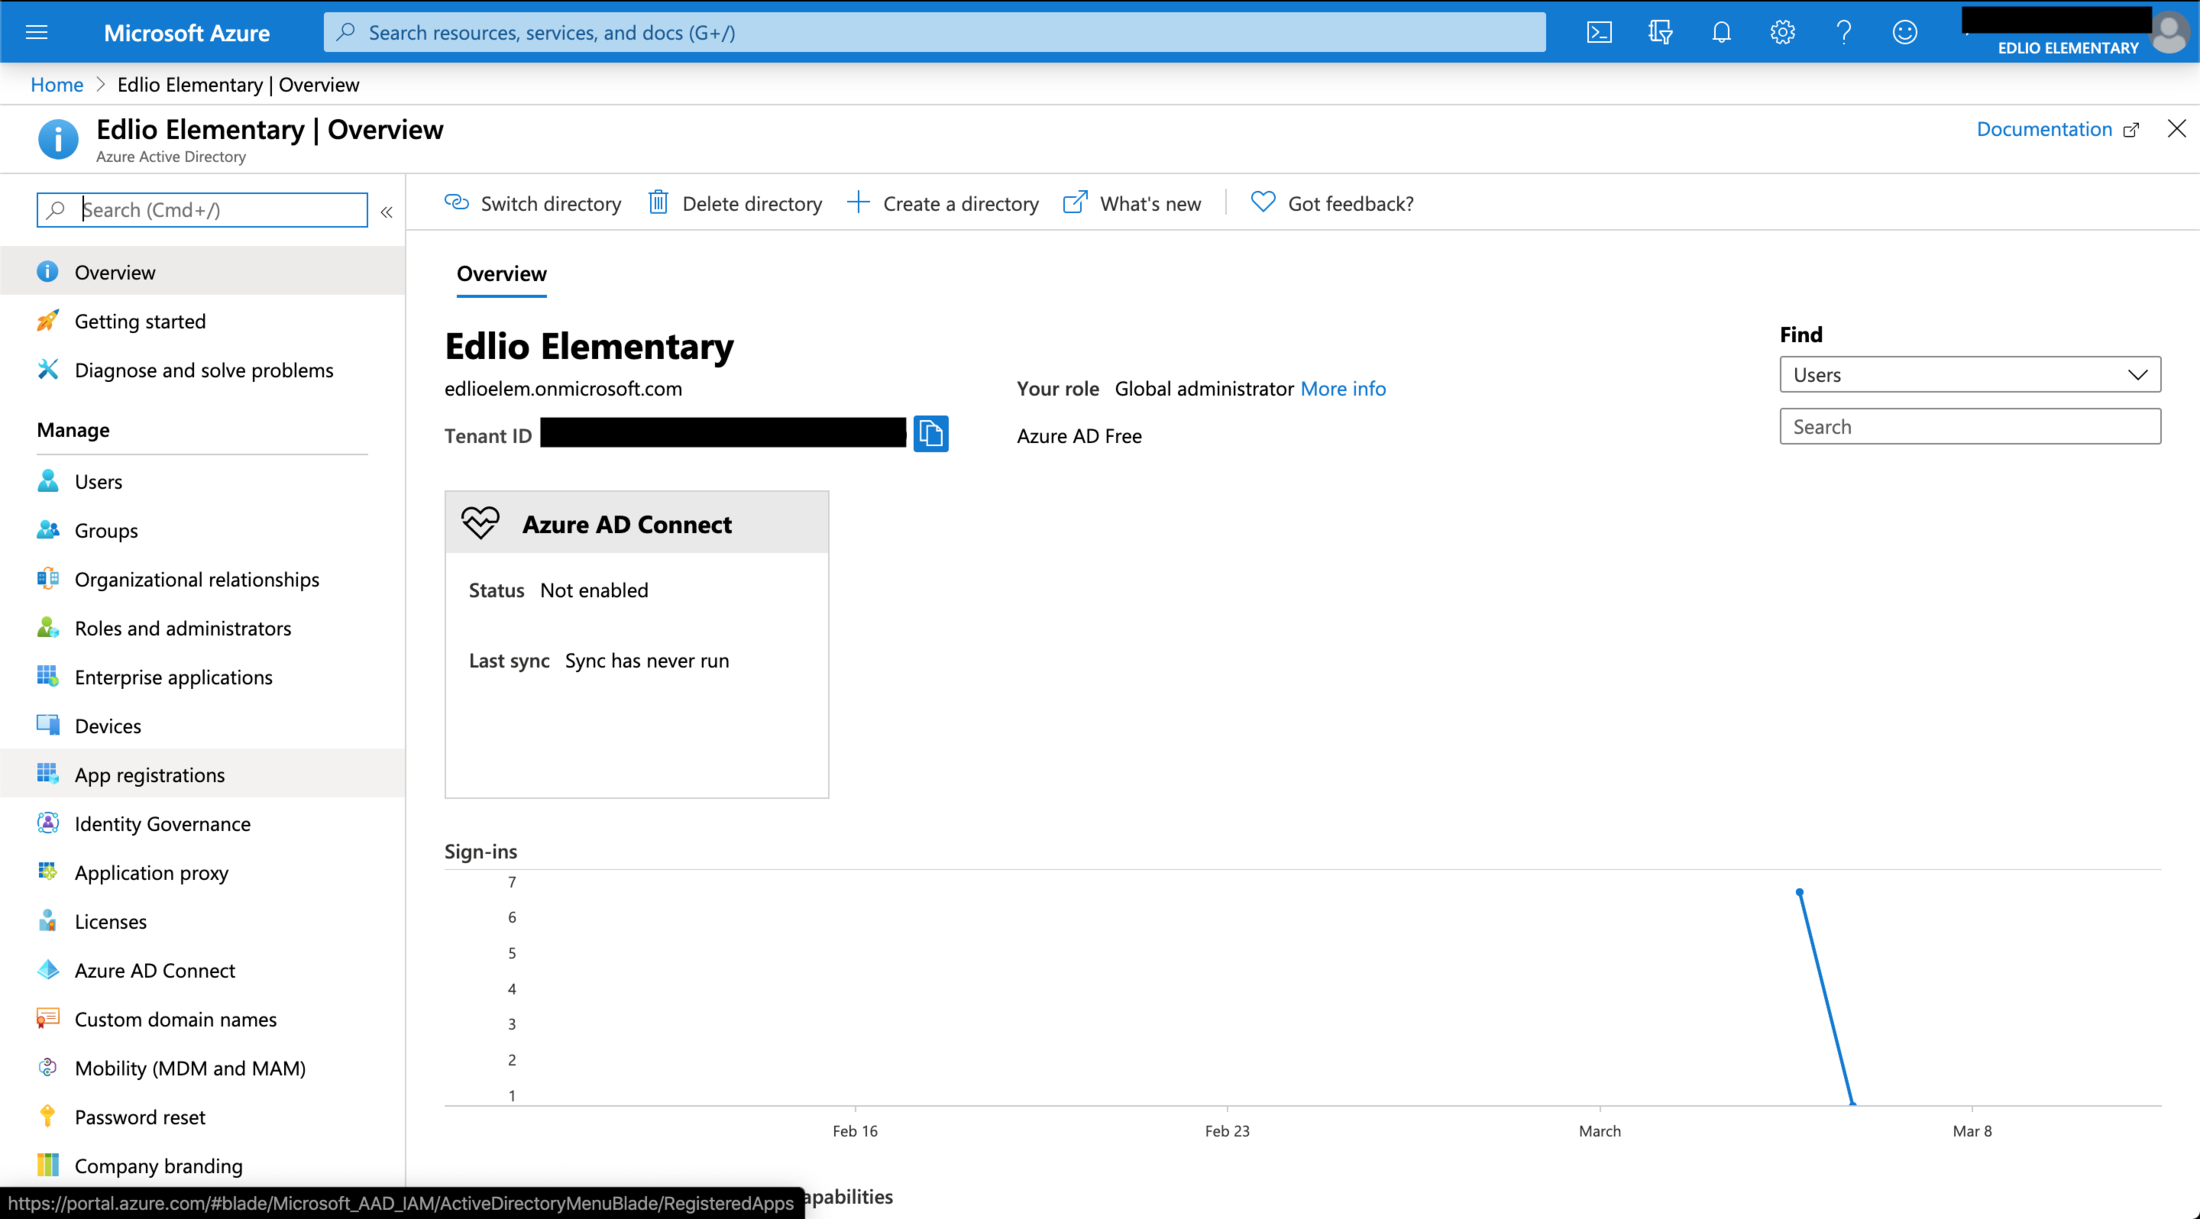
4. Click "New Registrations"

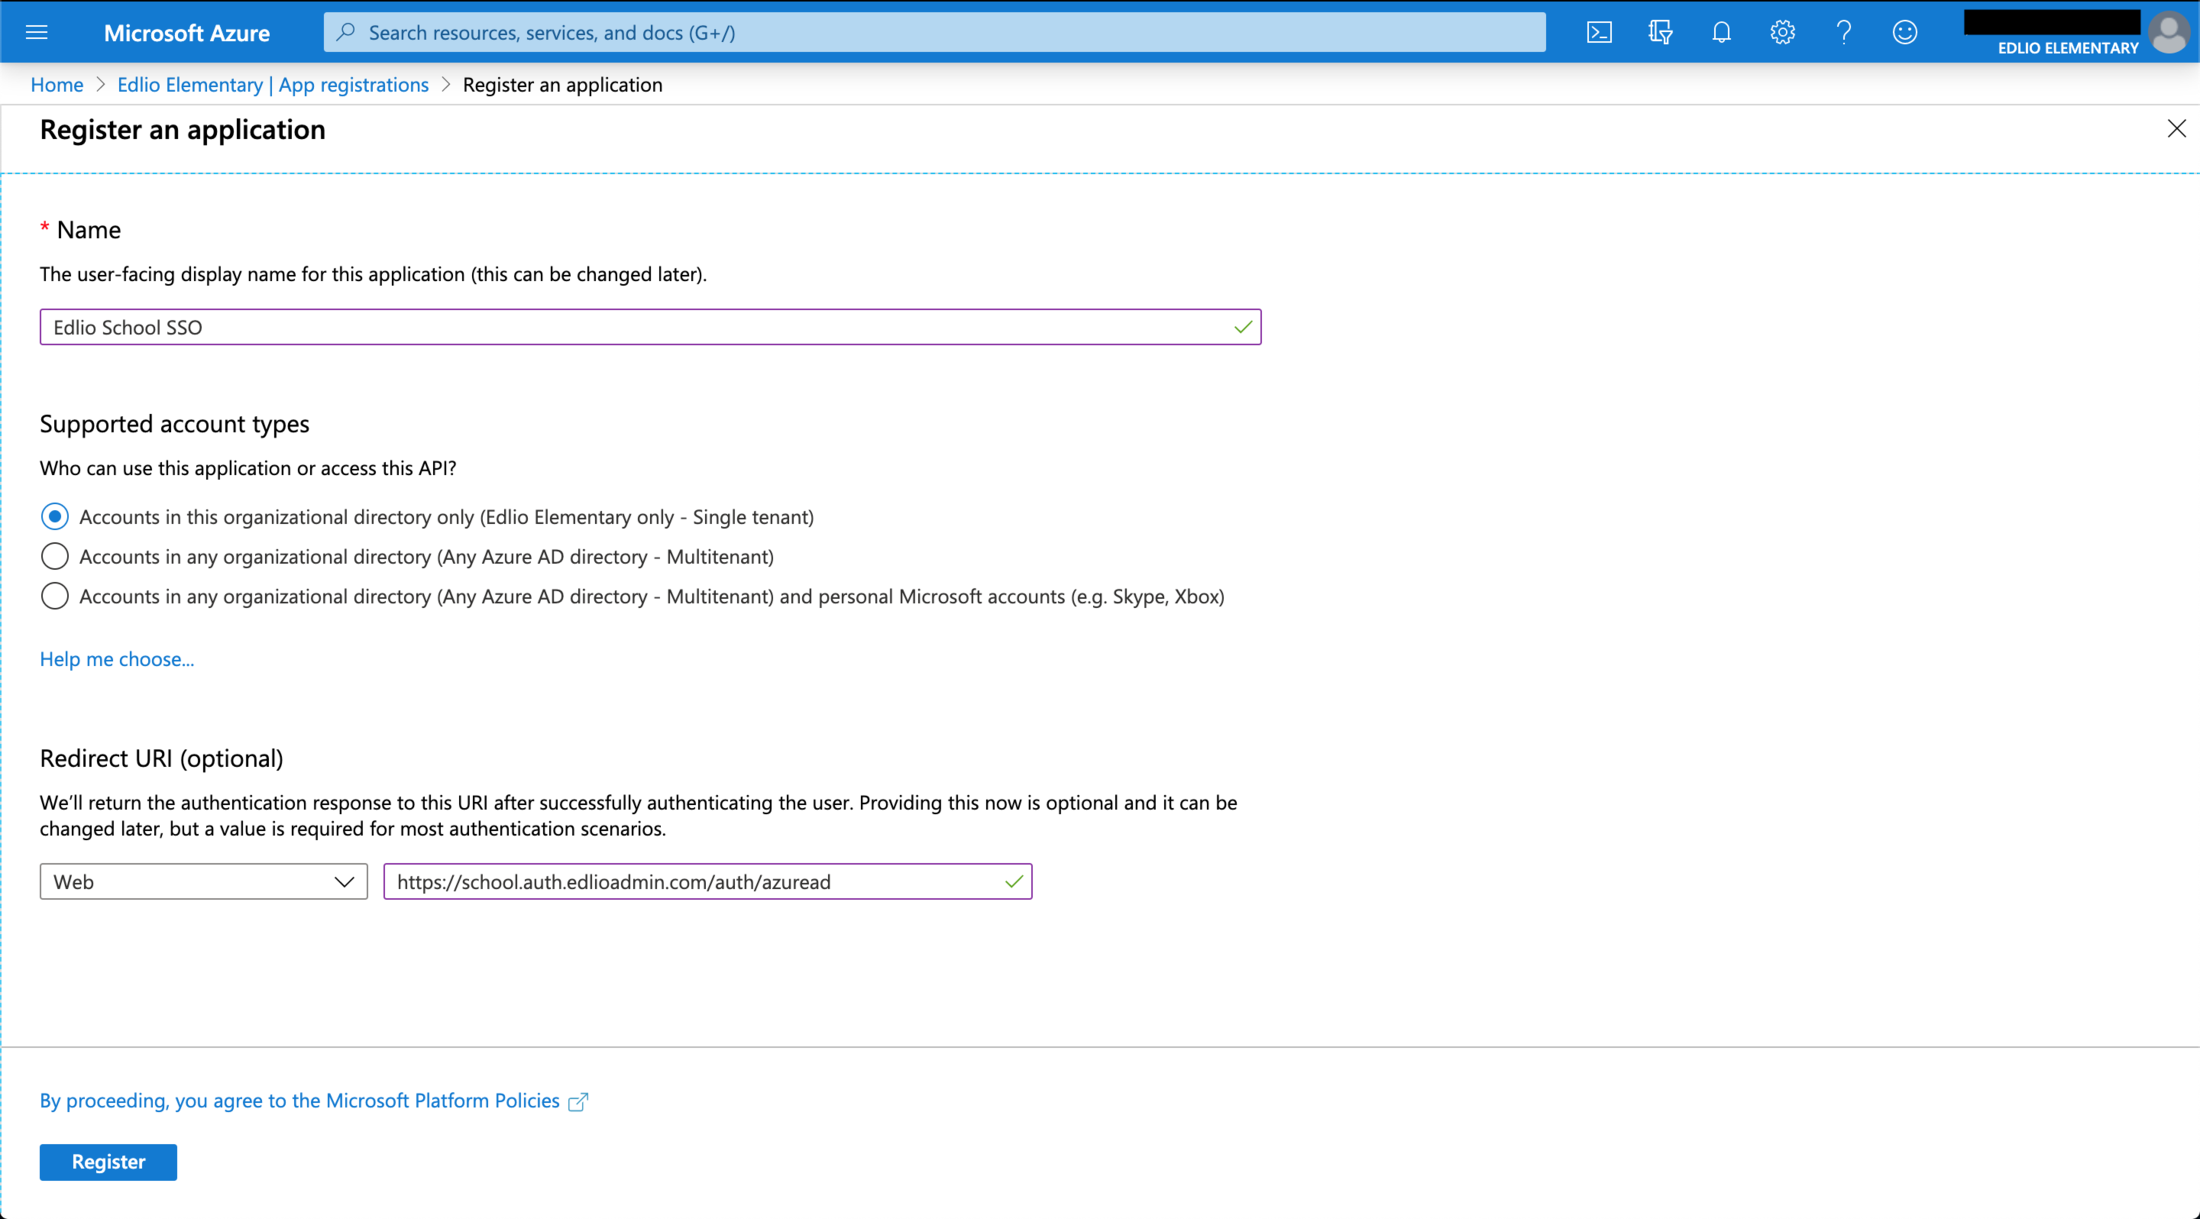
5. Give the application a name and enter the Redirect URI (Sometimes called Reply URI). This is unique for each account and can be provided by Edlio’s Technical Support Team. Click “Register”.
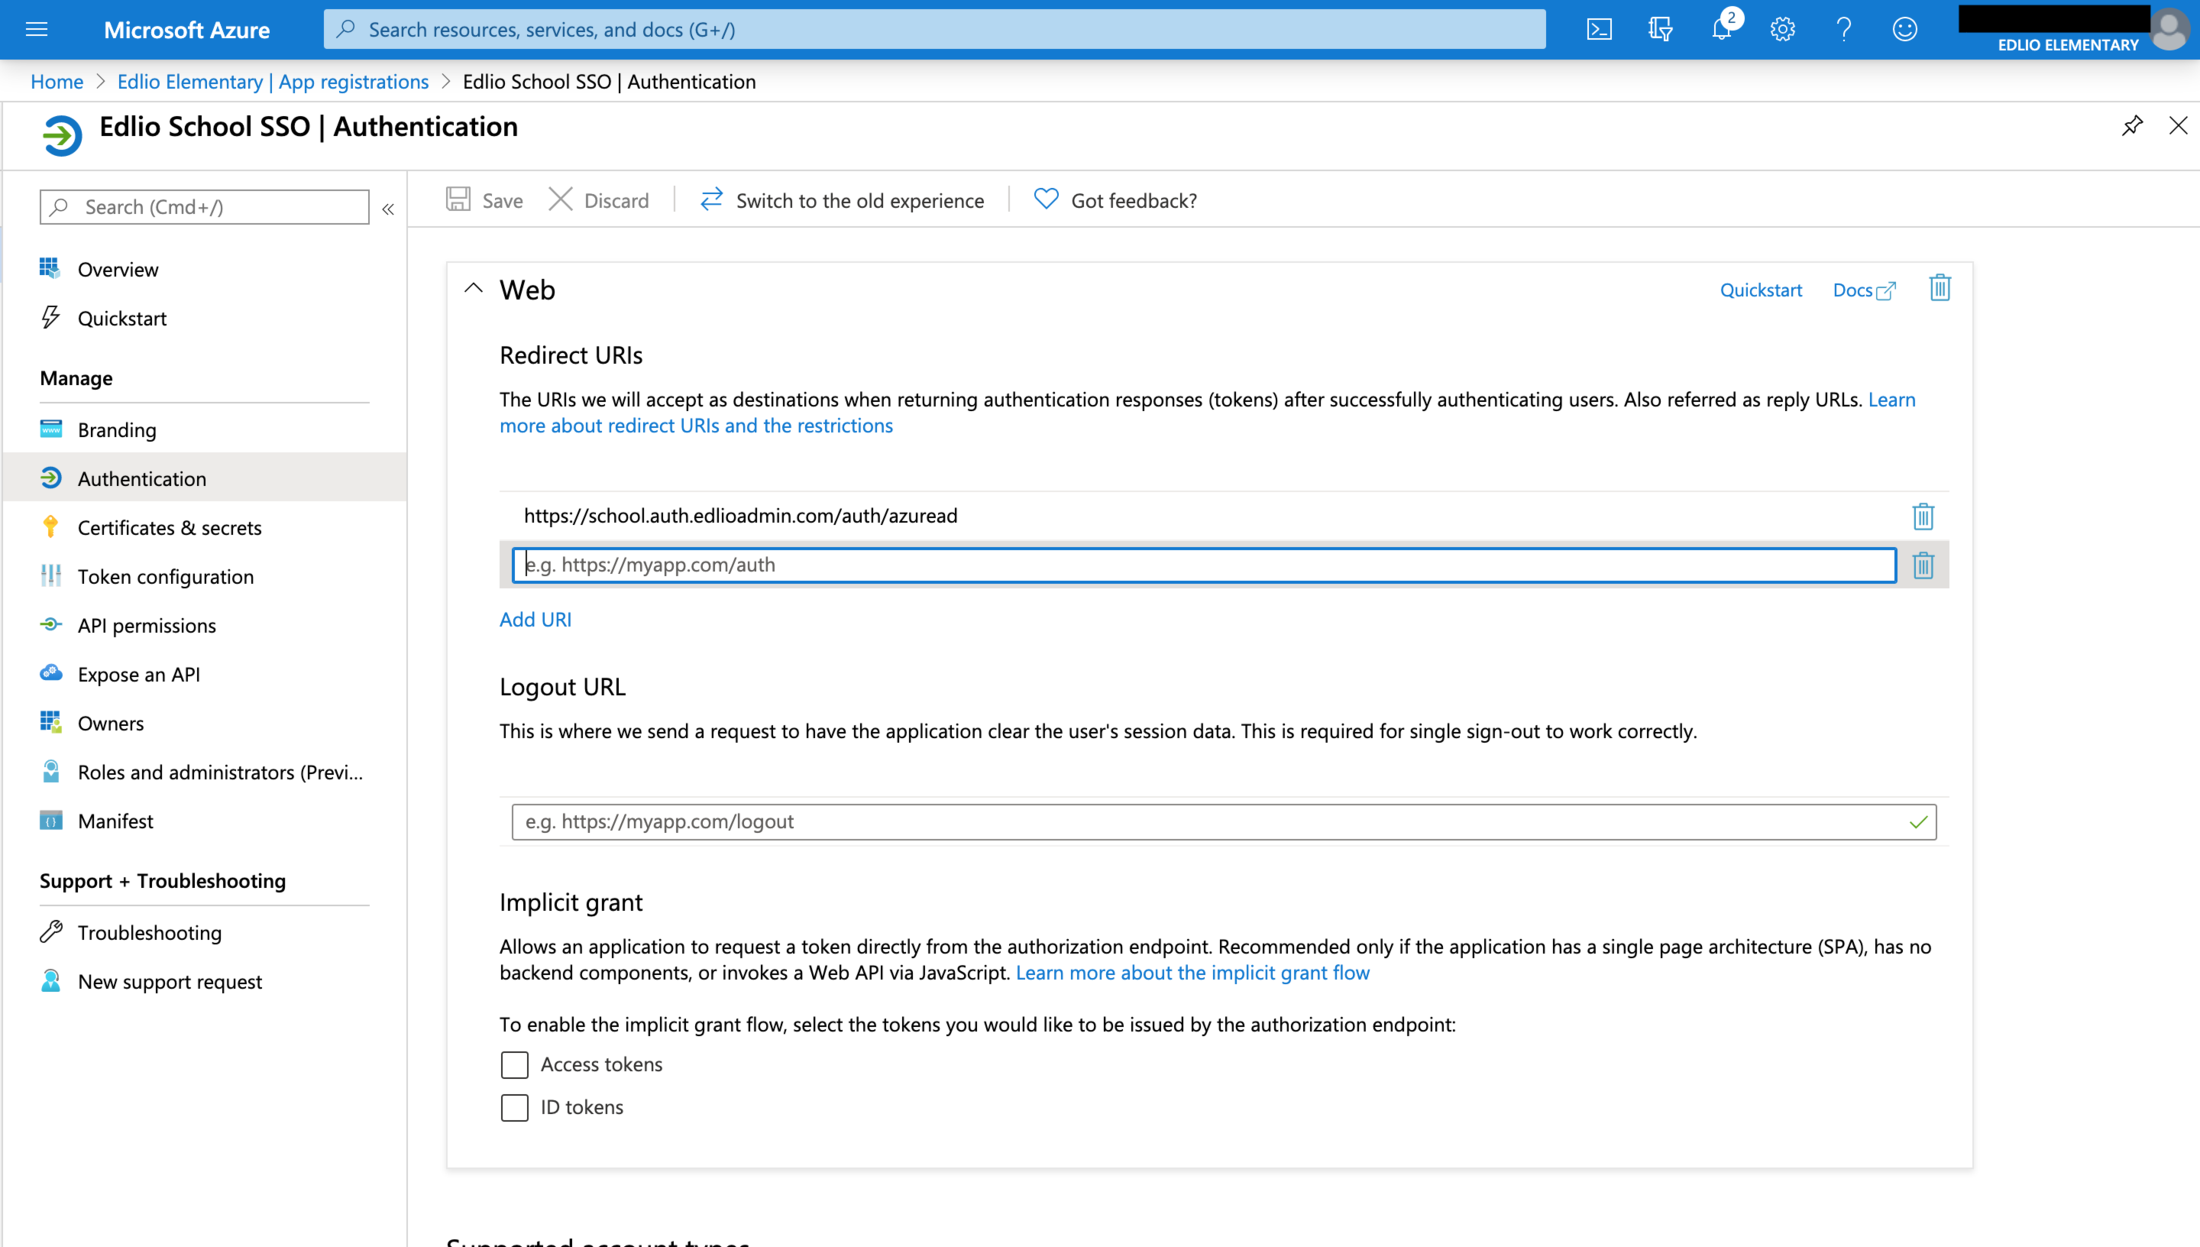
6. You will be brought to the Application Overview screen. If you have multiple sites with multiple redirect URIs, click the option next to "Redirect URIs" to add more. If not, proceed to step 8.

7. Enter the additional redirect URIs.
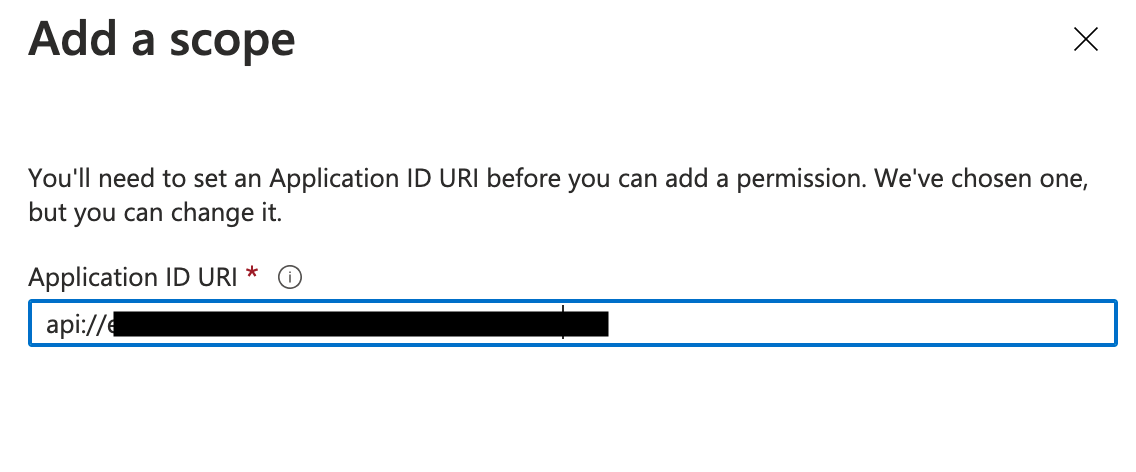
8. From the Application Overview screen, click "Add an Application ID URI".

9. Click on "Add a Scope" and you should receive a default Application ID. Make sure to save this and provide this to the tech support team.

10. From the overview screen, click “View API Permissions”.

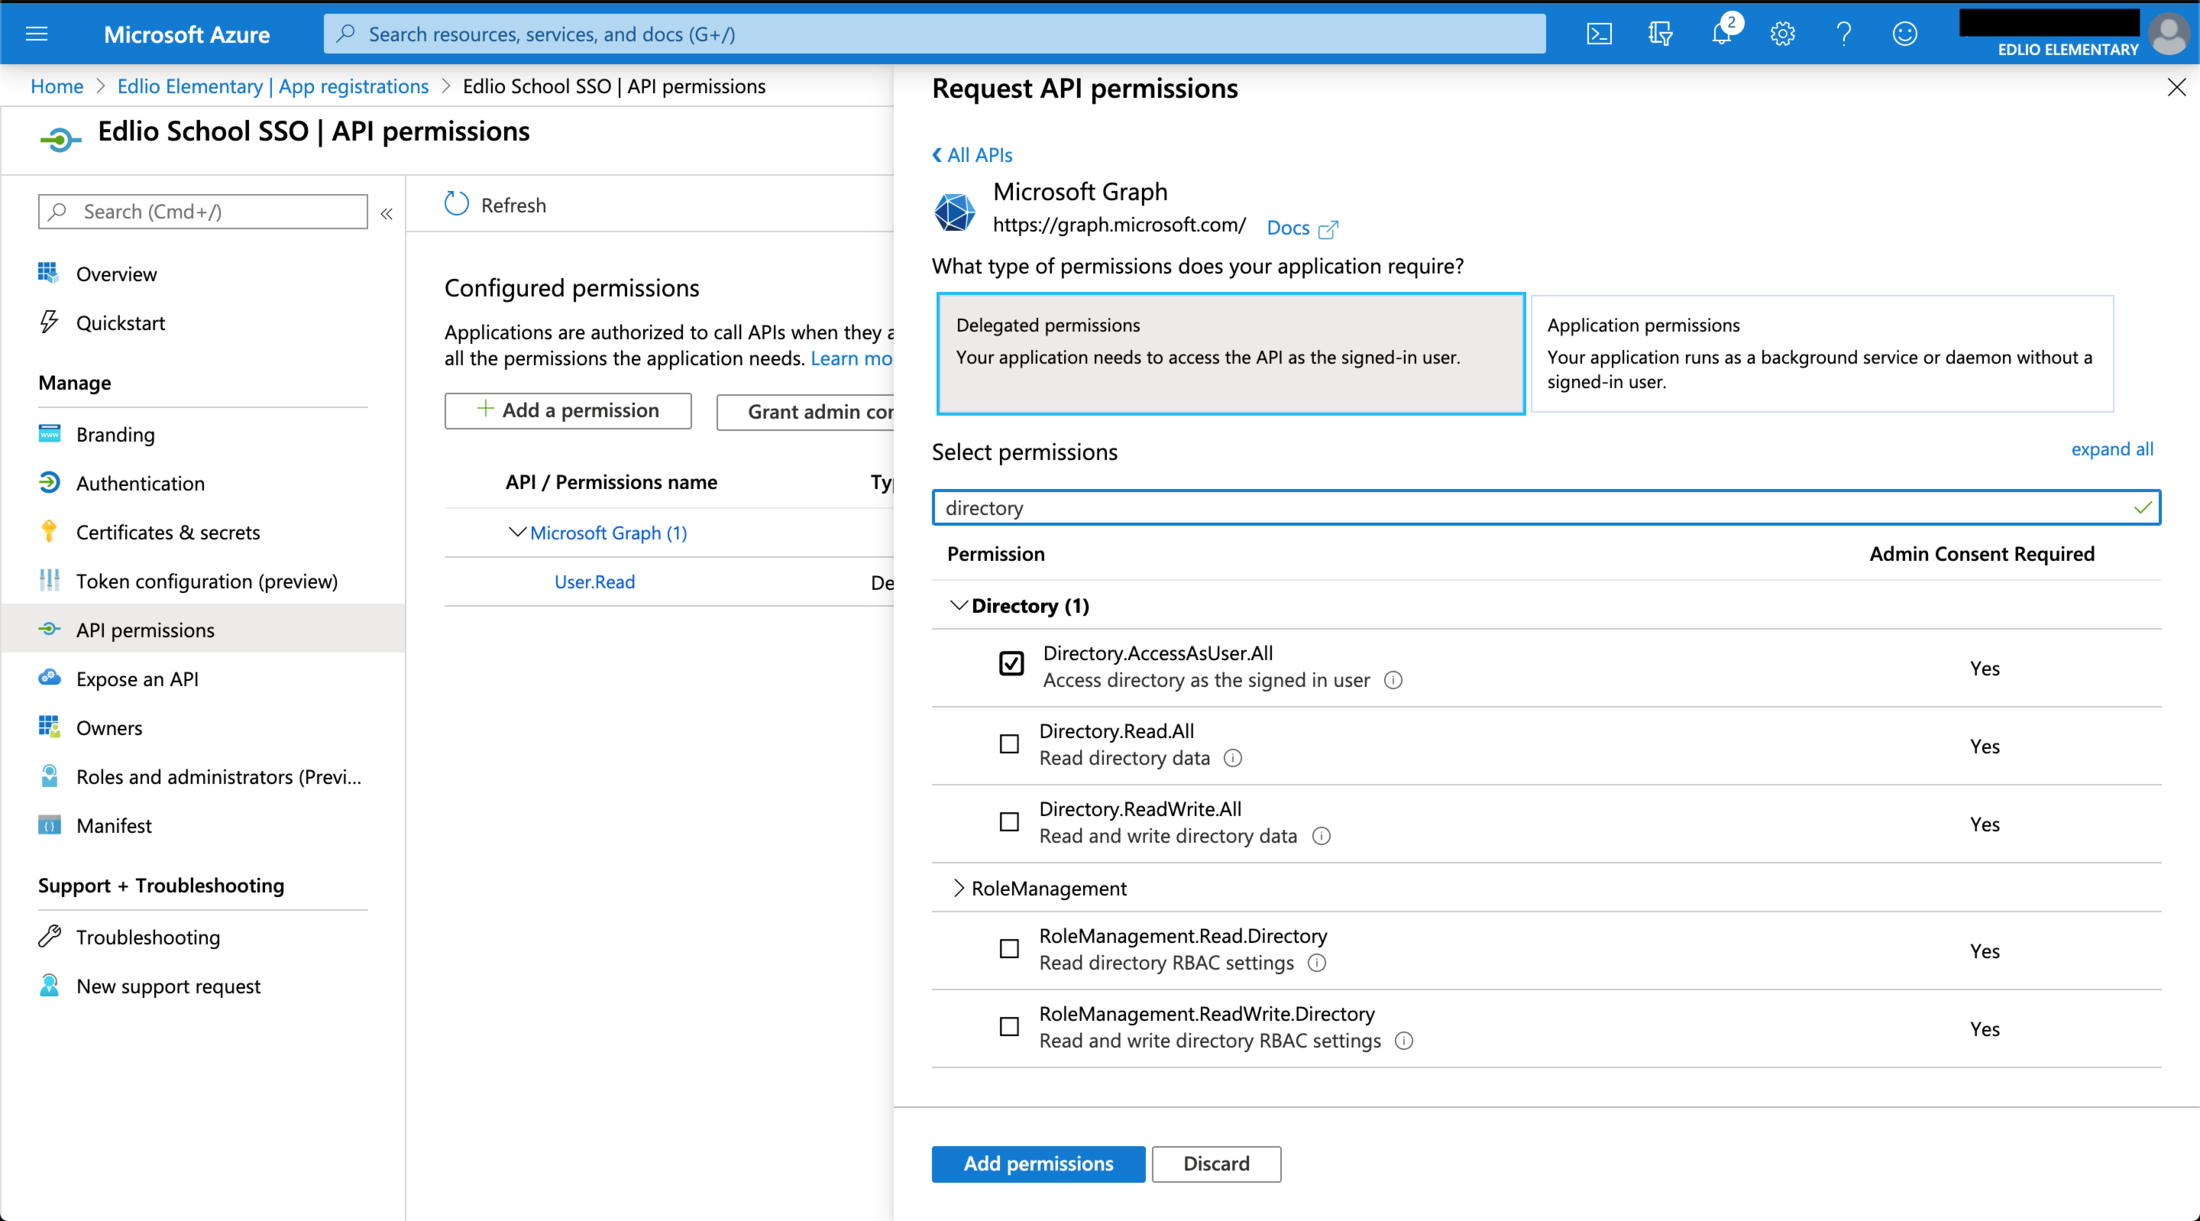
11. Click the “Add a permission” button. On the “Request API permissions” screen select Microsoft Graph.

12. The following permissions need to be added:
- Under “Delegated permissions”:
- Directory.AccessAsUser.All
- User.Read
- Under “Application permissions”
- Directory.Read.All
13. Click “Grant admin consent for Edlio Elementary”. When asked for confirmation, click “Yes”.

14. From the overview screen, click “Endpoints”. Send the properties for “WS-Federation sign-on endpoint” and the “Federation metadata document”, as well as the App ID, to Edlio’s Technical Support team to complete the setup.
