Adding a New User
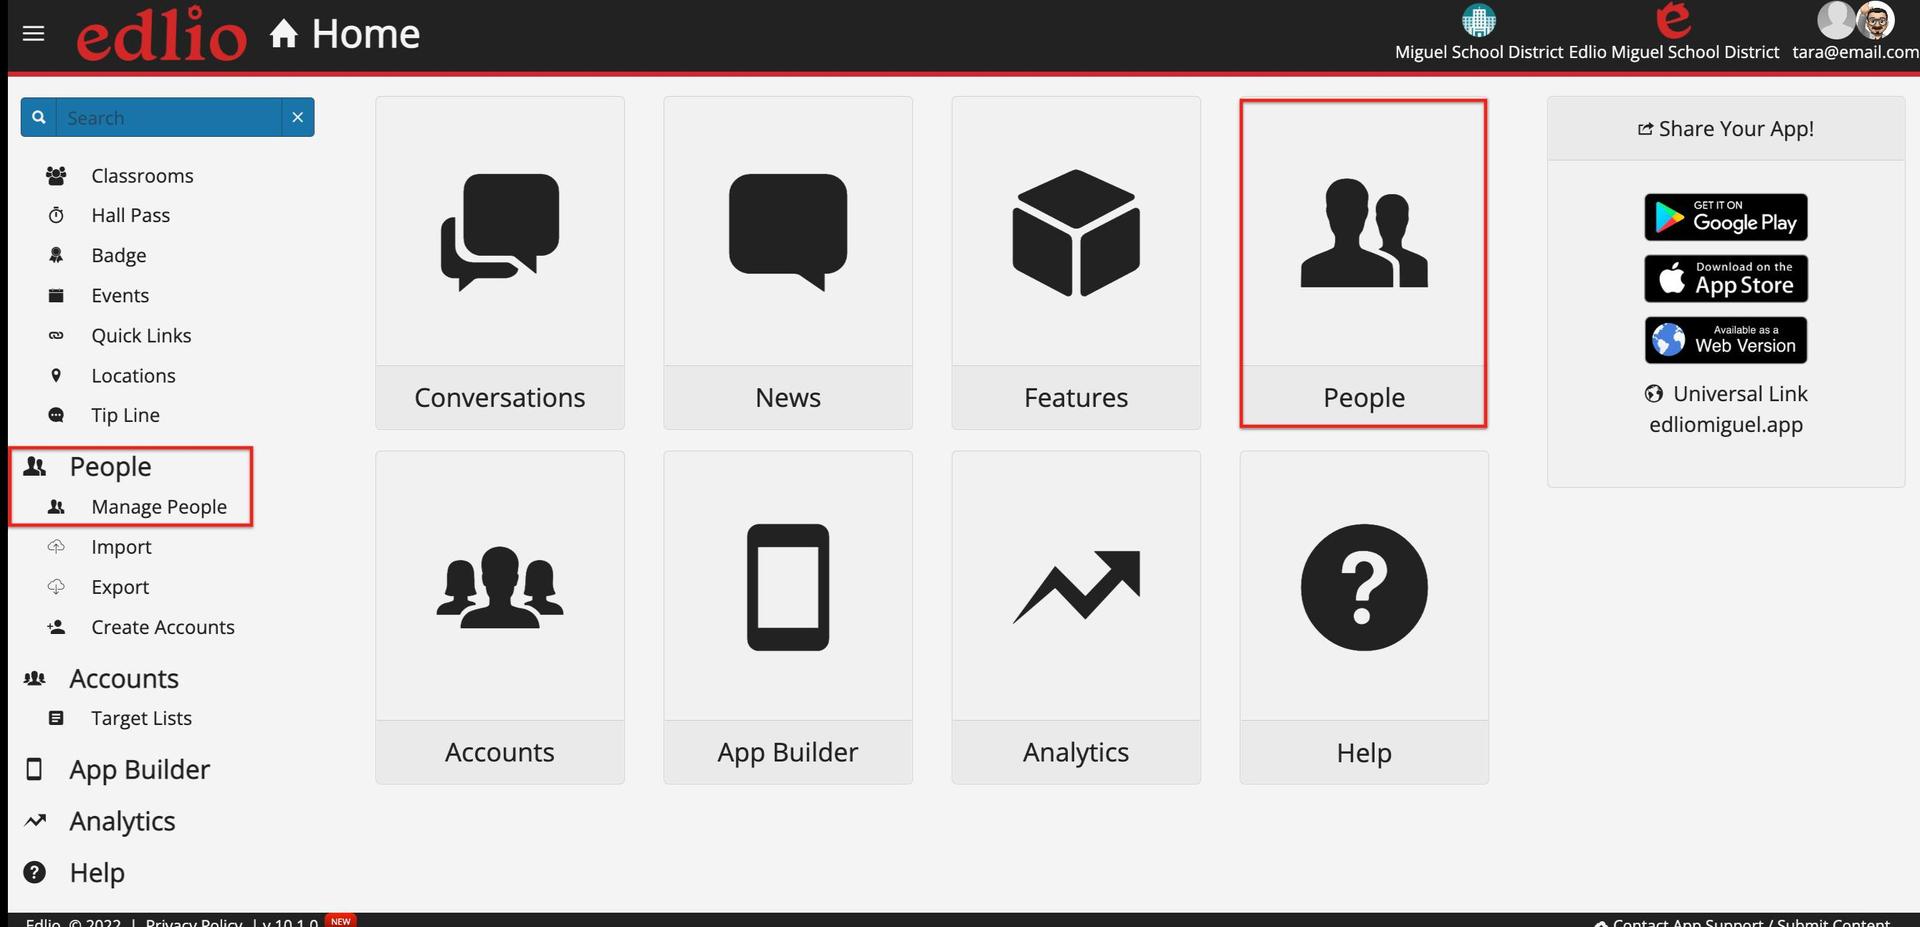
Step 1: Click People then, Manage People

Step 2: Click "+New"

Step 3: Fill Out the necessary Primary Details
- First Name, Last Name are required
- Employee/Staff ID or Student ID will be used to sync photos if desired
- Security Pin is highly encouraged for Staff accounts, pin can be required for issuing hall passes
- Address would be official school address if desired, NEVER home address
- Contact Information Email is the email address that will be used to create app/dashboard account, if desired
- About Me External Image URL will override imported/selected image for user
Step 4: Edit their "Account" information:
- Add or Create Account, if desired to create staff/teacher dashboard accounts, or any app accounts
- Username is prefilled with email from Primary Details if supplied, if “username taken” then that email is already associated with an account within our system
- Chose Invitation settings: Send Now, Schedule for Later, Set Password, or No Invite
- Dashboard user accounts will need at least one “Managed Sites” checked.

Step 5: Edit their "Identities" information:
- Ensure proper Identity is set to ensure proper directory “sorting” for staff, and correct feature accessibility for teachers and students
Step 6 (Optional): Edit their "Relationships" information:
- If a parent record, you can add a student that belongs to that parent
- If a student record, you can add a parent/guardian that belongs to that student
Step 7: Once you have completed your edits, scroll down to the bottom of the page and click OK if there is nothing else you want to edit on that person, and you will be returned to the mail People dashboard page.
NOTE: If you want to edit information in addition to the Primary Details, click "Apply" instead of "OK", then click the tab you would like to edit (i.e. Account/Identities/Relationships). Once you have completed all the edits, then click OK to complete the process.