Form Options
With Form Options, you're able to set:
- Emails - confirmation emails and new submission emails
- Behavior - thank you page and captcha
- Schedule - when the form opens and closes
- Payment - deposit account for funds collected through this form, available if your site has Forms and Payments
Form Options was previously known as Advanced form setup.
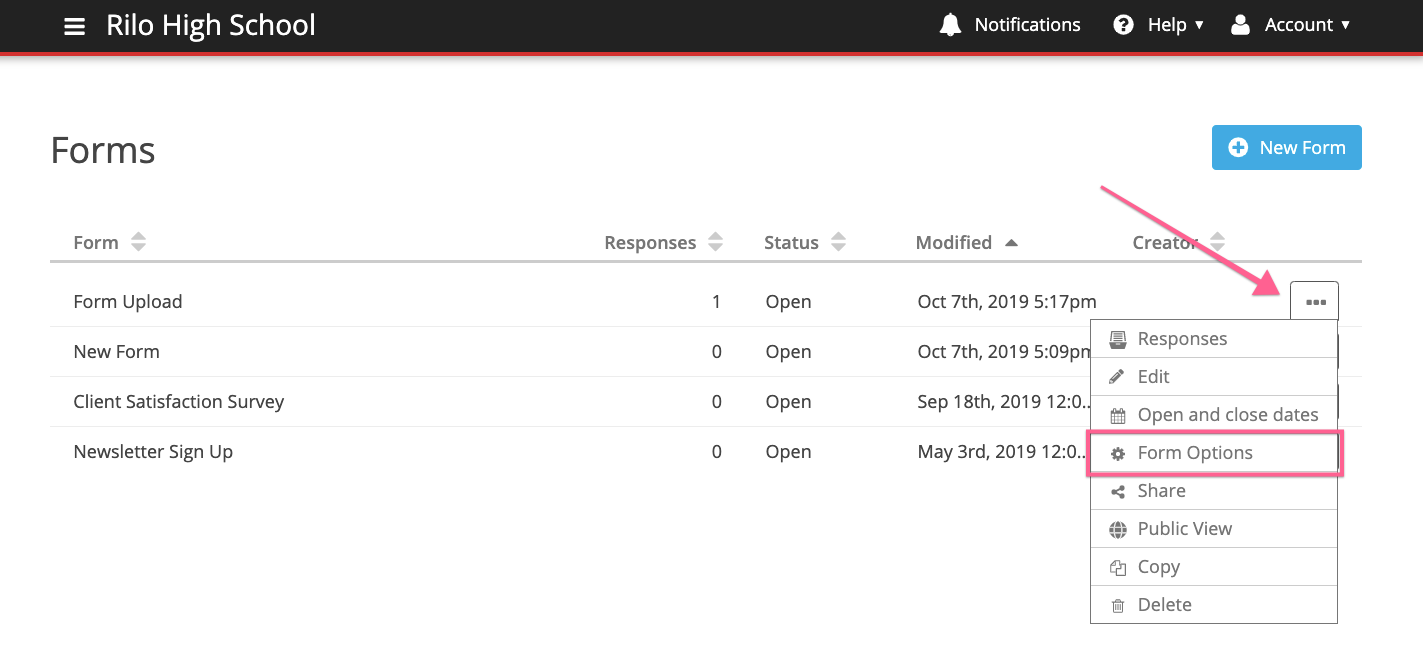
2. Click on the 3 dots to the right of the form.
3. Select "Form Options" from the dropdown menu.
Emails
In the first tab, you can set up notifications for new submissions and set up confirmation emails.

Notification Emails
You can have the CMS notify certain people when new responses to this form are submitted.
For example, if this is an admissions application you can enter the email address of the Director of Admissions so that person will get an email when new admissions applications are submitted.
Use the checkbox to include form responses in this notification email.

Confirmation email to respondent
For forms that include a signature field, a confirmation email must be sent to the respondent and this option cannot be disabled in Form Options.
This allows the person filling out the form to receive a confirmation of successful form submission.
A field will be added by the CMS to the bottom of the form. When the form respondent enters their email address in the field they'll receive a confirmation by email that the form was submitted. You can make this field required if you wish. If you would like to include a copy of the response in this email, check the box next to that option.
The email will contain the confirmation message in the text box. You may customize it as desired.

Behavior
In the Behavior tab you can:
- customize the name of the submit button,
- customize what happens after someone submits the form.
- allow respondents to submit another response, edit their response, and see their response summary
If a form includes a signature field, its responses cannot be edited.

After someone submits the form, you can choose to either show them a Thank You page or send them directly to a custom link.
Redirect after form submission
If you wish to send people directly to a custom link after form submission, click the "Custom Link" button.
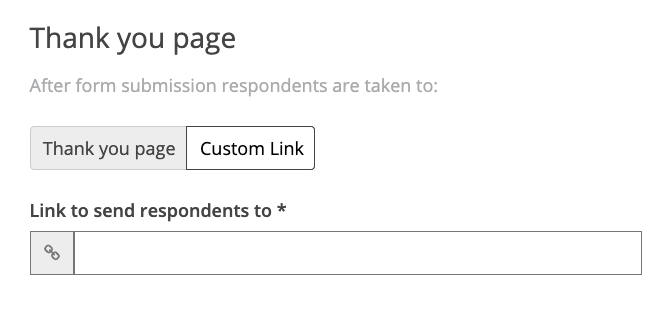
After clicking on the "Custom Link" button, you will see a field where you can input a URL to redirect users.

Schedule
In the Schedule tab you can set open and close dates for your form.

Set open date
Forms are set to open as soon as you save, but you can may choose to publish them at a later date instead.
To publish the form at a later date, check "On a specific date" and choose a date from the calendar. The form will start accepting responses at 12:01 a.m. on the chosen day.
If someone tries to visit the form on your website before it opens, they'll see the message in the text box. As soon as the form opens, they'll see the form, not the message.

Set close date
By default, forms never close.To set a closing date, check "On a specific date" and choose a date from the calendar. The form will stop accepting form responses on the chosen day. Thus the last time that form can be submitted is 11:59 p.m. the night before.
To close the form after a certain number of responses have been submitted, check "Maximum submissions reached" and enter the quantity.
If both a close date and max number of submissions are checked, the form will close as soon as one of the conditions is met.
If someone tries to visit the form on your website after it closes then they'll see the message in this text box.

Closed payment forms
A form with payment fields may be automatically closed for a couple reasons.
If a form includes payment fields but no deposit account has been associated with the form, the form is closed until an account is connected in Form Options --> Payments.
If an item is a required purchase but there are none available to purchase, then the form is closed until the available quantity is > 0 or the item is marked as optional.
In both of these cases, there is a banner at the top of Form Options and the Form Editor explaining why the form is closed.
Payment
If your site has Forms and Payments then you'll see an additional tab called Payment.
Select an account from the Deposit Account menu to associate it with this form.
If the Deposit Account menu is inactive, click Settings to connect your Edlio CMS to one or more Stripe accounts.
Deposit account is not required unless the form includes payment fields.
